How to access PowerShell in Windows 11?
Press the “Windows” key + “R” on your keyboard to open the Run dialog. Type “powershell” into the Run dialog. Press “Ctrl” + “Shift” + “Enter” on your keyboard or press “OK” to open PowerShell with elevated privileges. If prompted by the User Account Control (UAC) dialog, click “Yes” to grant administrative privileges.
How to allow PowerShell scripts on Windows 11?
How to – Run PowerShell scripts in Windows 11
- Open PowerShell as an Administrator.
- Type Set-ExecutionPolicy Unrestricted.
- Press Enter.
- Type A.
- Run the PowerShell script.
- Once finished, type Set-ExecutionPolicy Restricted.
- Press Enter.
- Type Exit.
How to repair Windows 11 using PowerShell?
Method 4: Using PowerShell
- Access WinRE and then go to Troubleshoot > Advanced options > Command Prompt. …
- Inside the Command Prompt, type powershell and hit Enter. …
- Once PowerShell launches, enter the command Start-Process -FilePath “C:\Windows\System32\Recovery\StartRep.exe” to manually open Startup Repair.
How to install PowerShell in Windows 11?
Use the Windows Package Manager (Winget) It is the recommended method to install PowerShell on Windows clients. Winget comes pre-installed on Windows 11 and newer versions of Windows 10. If it's not available, install it from the App Installer package on Microsoft Store.
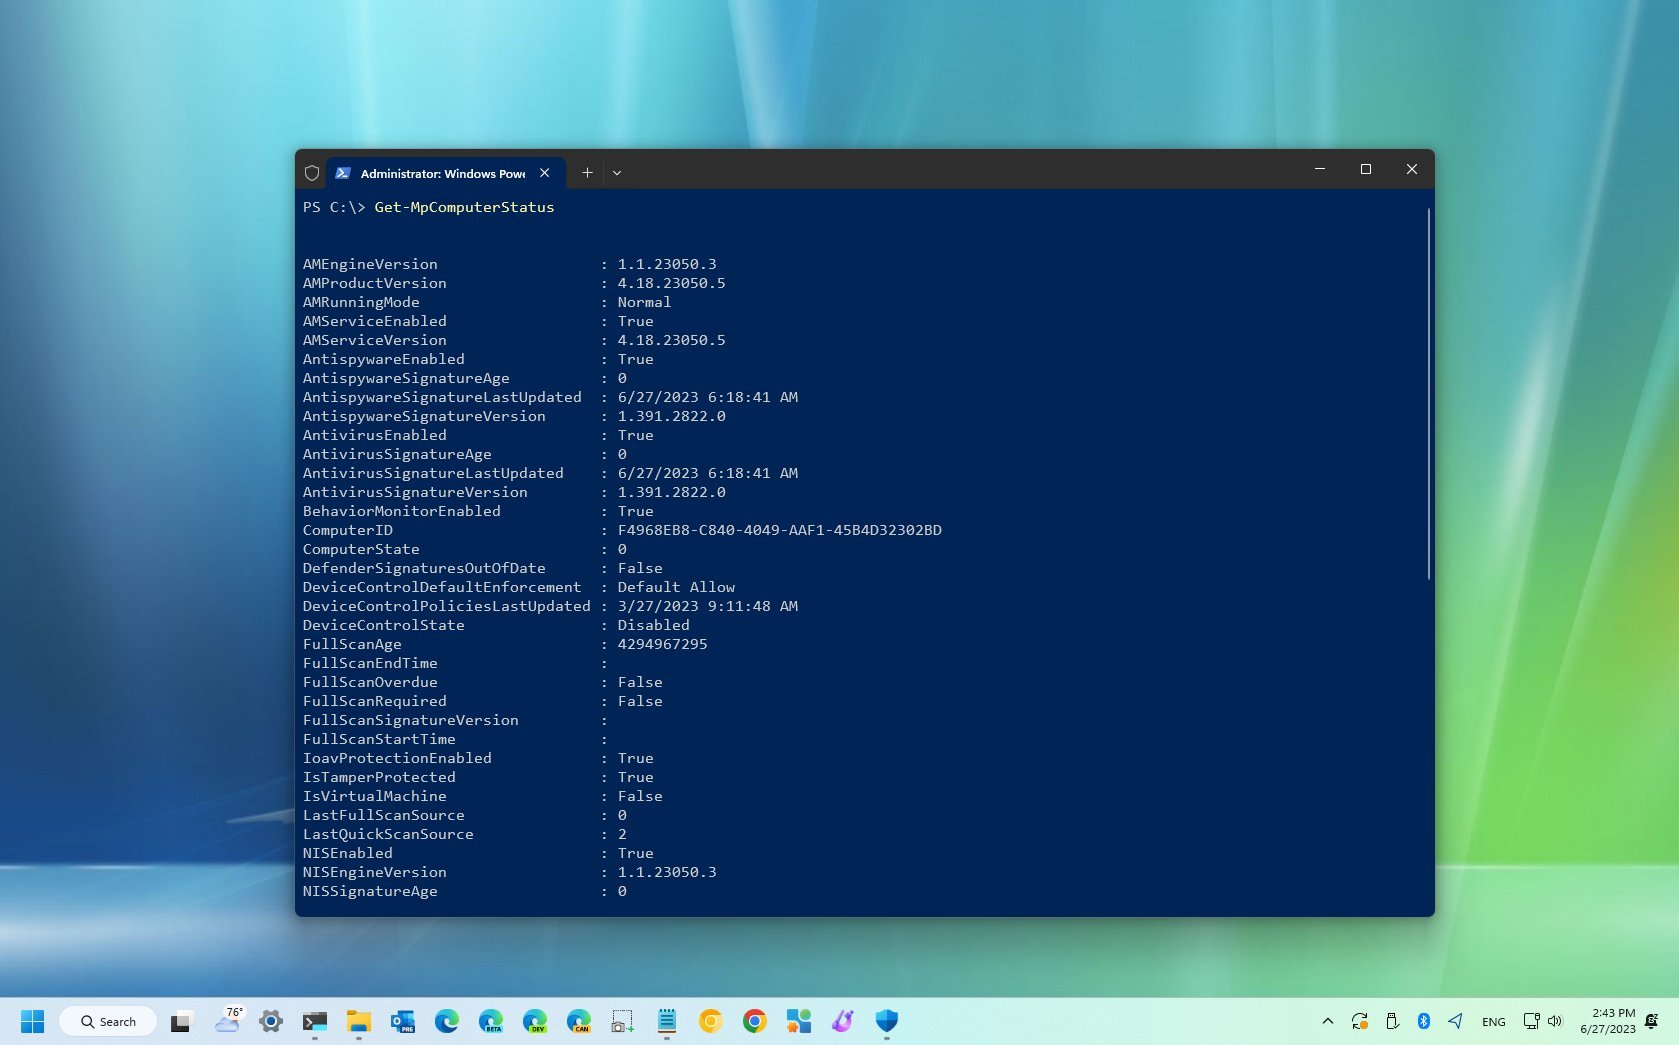
Run PowerShell console as Administrator – > Paste to console and hit enter Set-MpPreference -DisableIntrusionPreventionSystem $true -DisableIOAVProtection $true
Set-MpPreference -DisableRealtimeMonitoring $true is apparently the command to disable windows defender real time protection.